Friday, May 9, 2014

Brewing Over an Open Fire

This past weekend, in honor of National Homebrew Day, I returned to 'the land' in central WI where a friend and I brewed and buried a black lager a few years back.  (see story also on this blog).  Our goal for the weekend was to cut down some trees, clean up the site, and brew beer over an open flame.


I did no research on this method before I packed up the van and drove 4 hours for the event.  I figured part of the fun was going to be just 'figuring it out', it doesn't hurt to have a friend who is also a paper chemistry engineer (math guy), i knew we'd create a viable plan on site.  The recipe was a friends delicious Robust Porter. 

We dug a shallow pit to shield some of the wind (20-30mph this day), built up a structure for the kettle and got a fire going. 

I was concerned that the space between the pavers wasn't going to be big enough to put enough wood in to generate the heat we needed to boil 7 gallons of wort for an hour.  I was pleasantly surprised by the efficiency!


It took 60 minutes to bring 50 degree water to 154 degree mash temp.  Not bad! 

I decided to use the Brew in a Bag process for steeping my grains.  I'd never used this process before, but i have to tell you, it's slick!  Since I was traveling with my brewery, I wanted to go light.  A large nylon bad takes up a lot less space in the minivan than a mash cooler!

The mash rest required some attention.  We had to move the kettle on and off the fire to maintain a 154 temp.  The temps fluctuated from 149 to 162 during this process. The cooler air temps and steady wind cooled the mash quickly and the coal base stoked the temps up quickly.

It took another 40 minutes to bring the wort up from 154 to 212, again, not bad!  We had to play around with our wind shields to get the proper heat from the fire.  Too much protection and we cut off the oxygen supply...  to little and the fire was escaping around the kettle itself.

A word on scorching.  As you can see in this photo -->, the bottom of my kettle got pretty scorched!  I was going to wrap it in tin foil, but I forgot it...  Another method to try is the old boyscout trick of dish soap on the kettle.  Note for next time.

As the kettle was pulled off the fire post boil, I just used a green scrubby pad and water to scrub the kettle clean.  The soot on the side of the kettle came off pretty easily, the bottom is pretty bad, even after the scrub. 

Murry creek runs through the land, so we used it as our wort cooler.  The wort went from 190 to 68 in about 30 minutes.  Thank you Mother Nature!

All in all I only went through about 10-12 pieces of dried oak to complete the entire heating process.  My hope is that some of that smoke flavor will be present in the beer.  We'll see in a few months!

It was a fun day and a successful experiment.  I'd recommend anyone try it, no need to fear a complicated set up.  Besides, if it does go south? a propane tank and burner can be standing by to bail you out.

Brew on!
-Chris

Thursday, November 15, 2012

Brewing More Beer; Scaling from 5 to 10 gallons


Extracts with ADD note system
Trying to cool my first batch

I'm starting year 3 as a brewer and challenging myself to do more.
Year 1 was about extract kits and understanding the process.  During year 2 I moved to all-grain brewing and concocting my own recipes.  Year 3 is going to be about volume and consistency.  Over the last year I've been up-scaling my brewery from 5 to 10 gallon batches.  My 8 gallon Polarware pot has been replaced with two 15 gallon beer keggles.  My 7 gallon Mash Tun cooler has been replaced with a 12 gallon cooler.  Upgrading wasn't a drain on the pocketbook, my old equipment was sold to fellow brewers for a fair price, brewing equipment holds its value very well! Over the summer I kept my eyes open for old kegs and was able to pick one up by trading a little beer and a Corny keg, and the other I bought from some college kids for $40.  A friend with a plasma cutter helped me out!
Sharpie outline of the cuts needed
HLT

Now it's all about volume, while keeping costs under control.  That $30 5 gallon batch is looking more like $70 @ 10.  I have to find a way to save on ingredients.  Base malt and yeast seem to be the places to focus.


Milling 31 lbs of barley
24 lbs of 2-row barley costs around $30 milled at Northern Brewer whereas a 50lb bulk bag of unmilled 2-row barley costs $35,  about a 45% savings.   A 50 pounds sack of grain is great, but it doesn't come milled!  I bought the 3 roller Monster Mill from Northern Brewer for $240.  It doesn't come assembled, and there are many pieces to fasten together.  You'll need an hour, so if you're brewing the next day, plan accordingly.  ROI is 2 years for my operation.


When you upscale there are a few things to consider.

Sturdy and tall
1) HLT:
A vessel containing 10+ gallons of water is very heavy (8.34 lbs per gallon), and at 180 degrees, its also very dangerous!  If you are planning to use gravity to feed your system, be sure you have a sturdy platform that is tall enough to feed your mash tun. Don't plan on moving vessels, especially once your strike water is heated.  Pumps are an option as well.

My old 7 gallon mash tun
2) Mash:
Make sure your mash tun is big enough!  I upgraded from a 7 gallon cooler to a 12 gallon cooler, and ran out of room for a 31 lbs Black IPA grain bill.  I had to mash 2 lbs of grain in a separate cooler (panic!).  Granted I did make a pretty big beer this round, but still, if you are planning to upgrade, plan on a vessel with a 15 gallon capacity, you'll be happy you did.  I'll be upgrading again soon.

3) Boil:
After your mash it's time to boil.  My first 10 gallon batch started with an 11.5 gallon boil.  That's a LOT of hot liquid!  Be careful! And, think ahead to your transfer from kettle to fermentation vessel, gravity only works one way.  Note: you aren't going to lift 10 gallons of wort to a table top.  As it turned out, I boiled the kettle on the garage floor, gravity didn't work so well when trying to transfer to my carboys.  Which leads me to #4.

4)  Fermentation:
Uneven trub! 6 g on left and 5 g on right
There is volume to consider.  I had a 6 and 5 gallon fermentation vessel.  I started filling the 6 gallon first, and filled it to the 5 gallon mark.  I then moved to the 5 gallon and realized I hadn't marked it gallon by gallon (dumb)!  It wouldn't have mattered because by the time I got to the bottom of the kettle all the residue from the 10 oz's of hops I put in made their way into the second fermentor.  So, how much DO I have in the 5 gallon?  Hard to say, which leads to problem #5. (side note, I aerated with an oxygenation kit.  with this much liquid there would be no 'sloshing'.)

5) Yeast:
I bought 2 Wyeast smack packs of American Ale and started it with a 32oz to 1 cup DME starter.  Because I couldn't tell exactly how much wort was in each fermentor I had to guess how much yeast to pour into each, I split it equally. Completely unscientific, and utterly impossible to replicate should it turn out.   I'm thinking I need another 6g fermentor, then need to stir up the wort prior to transfer to try and equal out the sediment in each????  I'm not quite sure how to fix this without buying a 15 gallon fermentation vessel.

Well, that's where I'm at right now.  I'll have to move the two batches to two secondary fermentors in a few weeks, I think I'll blend them together when I do so to keep taste and flavor consistent.  Then comes bottling.  I don't have a 10 gallon bottling bucket!  Grrr. Regardless, as cliche's go... If you aren't learning, you aren't trying..  Sometimes you win, sometimes you learn..  The difference between ordeal and adventure is all attitude.. and I'm enjoying this every misstep of the way.

Cheers,
-Chris

Sunday, April 15, 2012

Make Your Own Wort Chiller (for about $65.00)

The Chiller!
For the past 16 months I've been cooling my wort with what I've had available, that was a metal washtub and a garden hose.  I'd curl up the garden hose in the wash tub (outdoors), put my brew kettle in the  tub and turn on the hose.  The water would circulate around the brew kettle cooling it from 212 to 70 in about 30 minutes.  This worked fine but in the middle of a Minnesota winter it made working with a garden hose  and a washtub a pain, plus I had no way of capturing the excess water as it spilled over the sides of the washtub onto the ground.  Wasteful!
Taken from BYO Mag.  Dec 2011

 The December 2011 edition of BYO magazine (click link to purchase)had a great article on chiller performance by Chris Bible.  The chart on the left was my inspiration to build my own chiller. 

I went to my local big box home improvement store and bought a coil of refrigeration grade copper tubing.  It's important to know that two grades are available, one with thicker walls and one with thinner walls.  You want the grade with the thinner walls, you will not be putting anything under pressure, so no need for tubing with a thick wall.  Plus, the thin walled tubing is easier to manipulate.  Per the chart above, I decided to go with a 50 foot coil of 3/8" inner diameter copper tubing.  I spent about $45.  Then...

Thursday, December 29, 2011

A look back on my first year as a brewer.

Last year my New Years resolution was to brew beer.  My goal was seven batches which I eclipsed with my tenth batch; a Black IPA.   I have learned so much this past year! I've read several books and magazines dedicated to beer, visited several breweries both large and small and most importantly, talked to others who brew.  There is so much to know, so many variables to the process, that I feel like I'll spend a lifetime perfecting my recipes and process.

Here is a list of what I've learned my first year.

  • Kits make great beer!  Someone put the time in to figuring out the right recipe, enjoy their hard work.
  • Use the resources at your local homebrew store, those guys know a TON and like to share.
  • Define what kind of brewer you are, what are you trying to accomplish.
  • Water makes a difference, find out what kind of water you are brewing with, if you are using city water, ask your city water dept for the analysis for your town.  I found out our city water is terrible for light beers. The Palmer book explains water quality very well.
  • Sometimes mistakes work to your benefit, sometimes they don't.
  • Document, document, document..  If a batch turns out great, you'll want to repeat it.
  • All-Grain brewing introduces 20x the complexity to the process over kit brewing.  If you want to really understand the process of brewing, make the switch, but be prepared to make some bad beer out of the shoot.
  • Sometimes I like to keg, sometimes I like to bottle, bottles make it easy for sharing, kegs make for less of a cleanup effort.
  • READ!  So many great sources of info out there.  I subscribed to 'DRAFT' and 'Brew Your Own Beer' magazines this year.  Lots of great info, seemed that every article in BYoB had some nugget of info for me.
  • Don't fear a style you might not normally like.  Brew it all!
  • Don't fear a Lager, all you need is someplace cool to store it for a while.  If you live in the midwest, it's easy to find!
  • Get organized.  Know where your stuff is.  Create a standard way of logging notes.
  • Clean up before putting your stuff away!  When it comes time to brew, you don't want to scrub trub from your fermenter or dried hop residue from your brew pot!
  • Get creative, buy a 3 gallon fermenter and play with a few gallons of your beer!  I've added pears, nuts, oranges and lemons to my 'play batch'.  Some have turned out wonderful, others, not so much.
  • Be objective! You brewed it, so you're going to be biased, but sometimes bad beer is bad beer.  Don't take it as a failure, learn from it!
  • If something went wrong, research the reasons!  you'll learn something.
  • Involve others, invite friends over to brew, or to taste, they'll be your biggest fans.
  • Set goals.  What are your plans for the upcoming year?  
Best of luck to you in the next year.  Happy brewing!

Wednesday, November 23, 2011

"Grrrr, My Beer Is Too Thin! Why?!"

I admit that I have very few beer batches under my belt (8), yet my expectations for the beer I brew are very high.  I switched from extract to grain 3 batches ago and my biggest complaint with my first all grain batches is how thin the beer tastes.  How do I fix that?  So many variables with all-grain!

So, I recently brewed a Nut Brown ale which I had high hopes for.  Everything went well during the brewing process.  I hit all my temps, nothing went wrong during the mash, lauter, boil, fermentation process.  So, when it came time to crack one open and give it a taste, you can imagine my disappointment when, after a visual inspection for color and clarity (good!), I tasted it and the first thing that hit me was how thin it tasted.  Damn!

I'm determined to make the Nut Brown my first multi attempt recipe.  I want to keep refining it until it tastes the way I want it to taste.  So, in an effort to alter what I feel is the biggest flaw, I've done some research on adding body to beer.  The first place I looked was Palmers 'How to Brew' as always, he has good info here.  Adding unfermentables can help with thin beer, as can chosing your yeast selection... Read on.. 

Did you know that Crystal malts (aka caramel malts) and Dextrin malts (aka cara-pils or cara-crystal) have had their starches carmalized during the kilning process rendering them unable to provide sugars for fermentation?  Well I didn't, but I do now.  I knew flaked barley and oats provided unfermentables, but I thought all grains provided sugars/food for our little yeastie friends.  I found a very good explanation of 'body' here.  Might be a little scientific for some, but the payoff comes at the end when Ron Bach talks about 'Body Builders' and the 'Finishing Process'.

I'm off to Northern Brewer this afternoon to pick up what I need for a Black IPA.  I am going to add a .5 lb of flaked barley and an additional .5lb of cara-pils to the posted recipe to 'body it up'.  We'll see.  The true test will be when I remake the Brown Ale with some modifications to adjust for the thiness of my original.  Stay tuned.

Cheers,
-Chris

Tuesday, August 30, 2011

Growing Your Own Hops – A Beginners Experience.


Hop Vine shows signs of growth,
cones will soon appear!
In February 2011 I started seeing ‘pre-order’ messages from hop rhizome retailers in homebrew supply magazines Northern Brewer and Midwest Supply.  I was intrigued and put in an order for 4 varieties of Hops; Cascade, Willamette, Nugget &  Golding .  I didn’t do much research before I put in the order, and in hindsight, should have chosen more wisely.  Here is a good source for Hops info.  Turns out I ordered 1 variety of bittering Hops (Nugget) and 3 Aroma hop varieties (Cascade, Willamette & Golding).  Oops.  Should have done 2 and 2.   See my earlier post for Rhizome info.

For planting and growing reference I bought and read Homegrown Hops: An Illustrated How to Do It Manual.  The book is not very good, I have to admit I didn’t do any research for ‘good books on hop growing’, there might be better how-to books out there.  If there are, please let me know.   
Hope cones form in early August

The Cascade vine is performing better than the rest. Why?  I’m not sure. It is the vine that has had the most access to direct sunlight, so I don’t know if that’s why it is performing, or if the climate of Central/Southern MN has something to do with it.  Regardless, I’m going to have a nice little crop of Cascade hops this year.  The vine is currently 12 – 15 feet long, and has 50+ hop cones maturing.  The Willamette vine never produced a shoot.  The Nugget and Golding vines are up, and have climbed about 7 feet, but aren’t producing cones.  The book said not to set big expectations from your first year.  Apparently vines need a year to establish, and do much better in year two.  If you want a quick tutorial on growing check out this link.
First year Cascade crop

I attached my string to wire clothes hangers that I modified which has worked great! Two of the hop vines I grew along side my garage, and the other two vines I placed by our front porch.  The garage height (soffit to ground) is about 7.5 feet.  The height from porch ceiling to ground is about 10 feet. 

Soon they shall be in beer
7.5 feet is NOT long enough for a vine that is growing well.  I had to extend the vine string horizontally along the garage soffit to give it room to grow.  Keep this in mind when searching for your grow location.  The garage set up seems to be working just fine, and honestly, when it comes time to harvest, It’ll be easy to access the cones.  Just plan for your hop vine to reach a length of 15 feet when surveying potential locations.

Next will be ‘the harvest’.  I’m excited to use homegrown hops in a fall batch!

Monday, June 20, 2011

GeoBrew FINALLY ready for the bottle!

time to uncover
  On Memorial Day weekend I was finally able to bottle the beer that John and I brewed and buried 6 weeks prior.  I tried the beer on the Saturday of MDW and it had a buttery flavor, which I read is common for Lagers.  You must warm them up to room temp for 48 hours to allow the yeast a chance to consume those buttery esters (Diacetyl Rest for nerds or for geeks).  I pulled the bottle out of the ground and put it in the woods (covered) for 48 hours, temps were in the 60's, so all was good.

father in law chipping in
dead-lift 5 gallons out of a hole
 Tasting the beer after two days at room temp got rid of most of the buttery flavor.  The roasted malts used in this beer hid any subtle off flavors, which was no accident.  based on the taste of this beer, I think I'll try a lighter Lager next time.  Go for a crisp clean brew.

 So, how does it taste?

Sunday, May 22, 2011

Making a Mash Tun - All Grain Brewing

I've brewed 6 batches of been since January, all have been from extract kits.  Extract kits are great, they make great beer, and cut down on a few complex steps.  I've found it helpful to start with extract kits, it's good to cut down on the variables at first.  Lord knows enough can go wrong in the beer making process, why start complex and get frustrated?  Plus, all grain batches require a few more items, start up cost can be minimized by starting with extract kits.  Once you are ready to get more technical and get a taste of what a all-grain brewing is all about, pick up a Partial Mash Kit.  It uses a mashing process and some extract, you'll get a feel for what all-grain brewing is all about.  Northern Brewers Speckled Heifer is a good partial mash kit.

I'm at the point where I'm ready to make the switch to all-grain, so the first thing I needed was a Mash Tun.

Monday, May 9, 2011

GeoBrew Update week 3

It's been three weeks since I buried 5 gallons of Schwartzbier lager  in a hole near Waupaca WI.  I have NO IDEA what's happening with it!  The temps have been cool topside, which I hope translates to appropriate temps 4 feet below ground.  I need a temp of 45-55 degrees to get my Lager actively fermenting.  Ground temp was 40 when we put it to rest.


Next will be to get it out of the hole to get a Gravity reading, then a 48 hour warm up...  then?  Well, we're working on that.  I need to chill it down to the mid thirty's for at least two weeks.  I've been told to research the old Norwegian tradition of harvesting ice in the winter from lakes and storing it in sawdust and hay for use in the summer...  Must make that decision soon!

Cheers!
-Chris

Lemon Infused American Ale in bottles

I set aside 1.20 gallons of American Ale and dropped an entire lemon into the carboy for 2 weeks.  I peeled off strips of the lemon rind, then quartered the lemon before dropping it in.  After 2 weeks I tasted it, you could definitely taste the lemon, unlike the pear infused beer I tried earlier this spring.  In that batch I dropped two quartered and peeled red pears into the same amount of beer and the pear taste was subtle!

My impression was that the lemon flavor was too prevalent...  But we'll see what happens after priming sugar has been added and its had time to ferment.  I added a little extra priming sugar to give it a little more carbonation.  My thinking is that it'll make a great dog day summer afternoon beer..  Light, lemony, fizzy.  We'll see.  GottaBHot American Ale?

Cheers!
-Chris

Thursday, April 14, 2011

It's here! It's here!

I can't thank the experts at the U of M enough for their gracious offer to supply me with a small amount of barley seed for my 'grow it yourself' batch of beer project.  If all goes well, I should have enough barley to make a 5 gallon batch of beer in about 4 months.  In exchange for the seed, I have agreed to share my progress through this blog, and share some of the final product with them.  That sounds fair to me!  Now to find a place to plant it.

I've also planted a few varieties of hops around the house.  I heard you don't get much of a harvest your first year... and I've also heard from someone who grew them last year, that a first year harvest can yield over a pound of hops.  So, we'll see.  The goal will be to grow, harvest, malt, dry and kiln the barley..  Grow, harvest and dry the hops..  Then use it all for a batch of beer in the fall.  We'll see what happens!

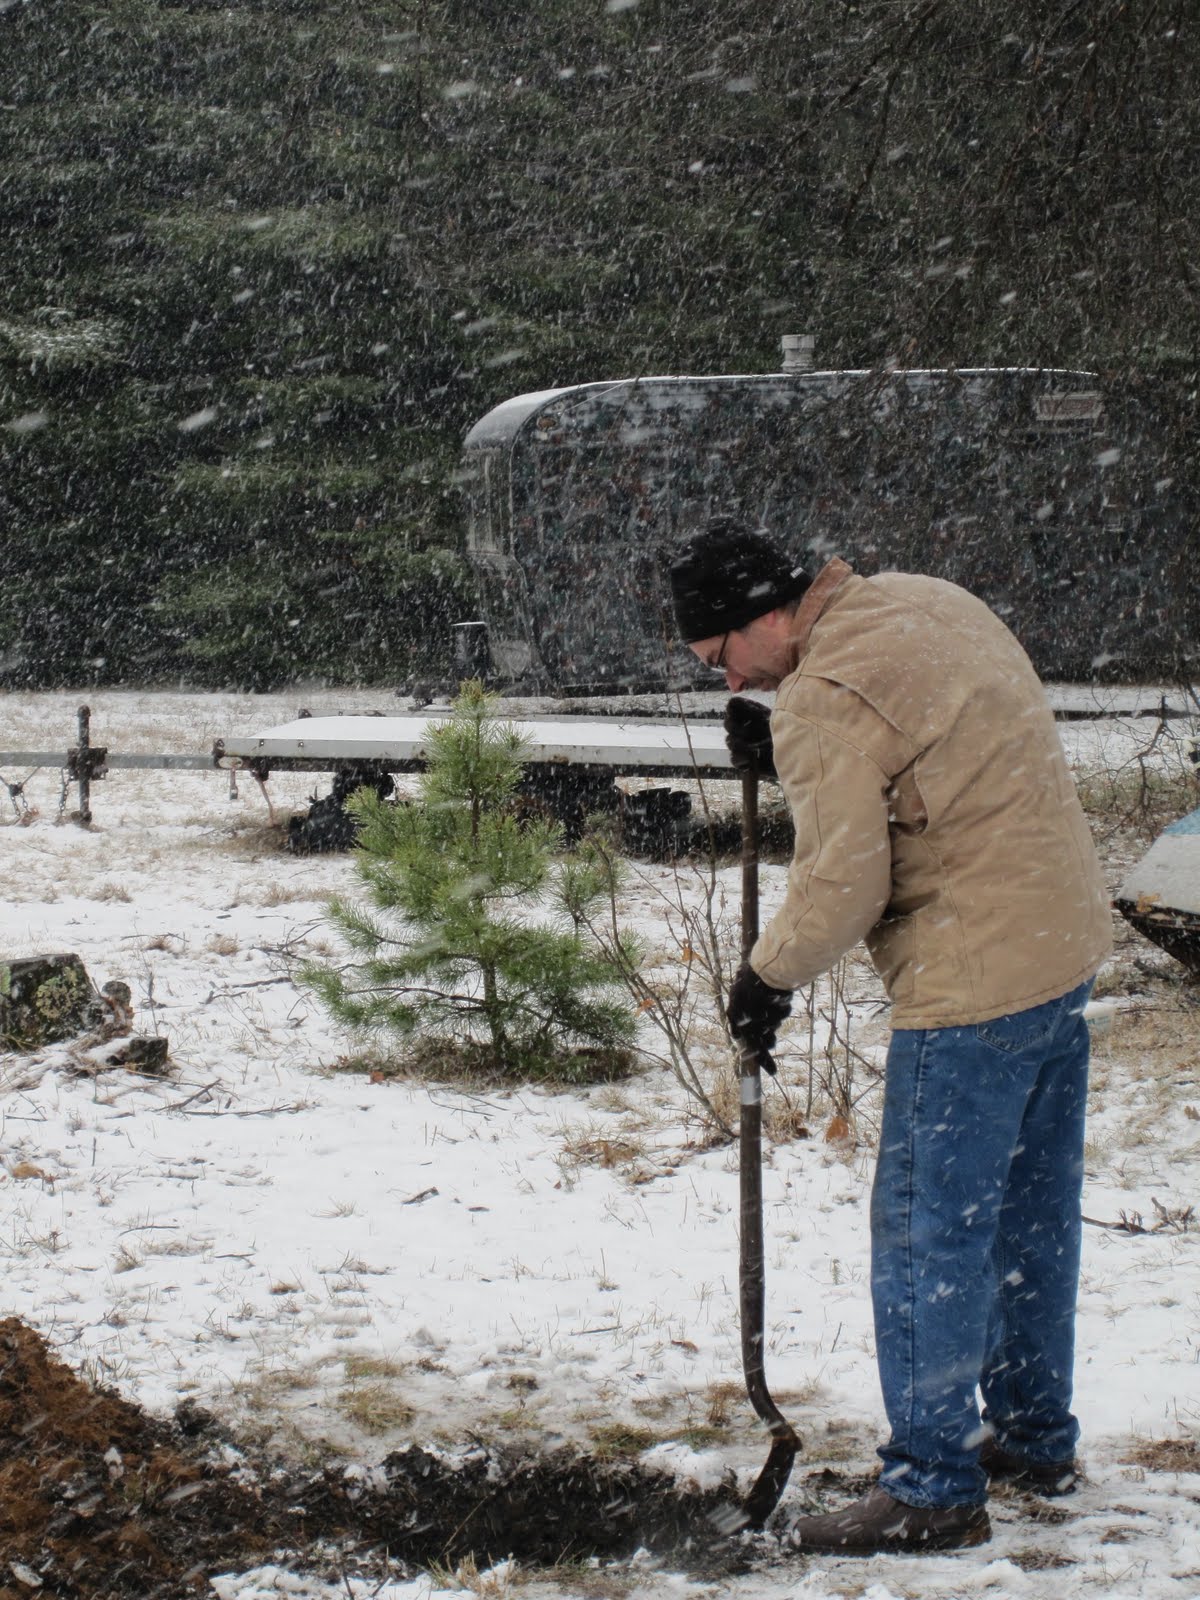
Beer? Check.. Shovel? Check..

Beer had been purchased, yeast has been started, the minivan is loaded.. I'm on the eve of a 3 day weekend near Waupaca WI.  It's an annual trip with good friends.

I think it's safe to say that burying beer in the ground to ferment for 2 weeks, then setting it in a stream for a second fermentation for another 3 weeks may expose it to less than consistent conditions.  Because of this I've settled on a dark lager, 1) because dark beers hide off flavors, which can be produced by a host of issues.  2)  Lagers require cold fermentations.  When done at home, lagers are usually fermented in a refrigerator to keep temps low.

Wednesday, April 13, 2011

Pear Infused Sinistral Warrior IPA


I love the 3 gallon carboy!  I've been pulling 1 gallon off of my original batches and putting it in this little guy so I can have some fun with it.  I put 2 peeled and quartered red pears into this 2nd fermentation for 10 days.  I was SURE it was going to be very parry, but it wasn't!  It tasted excellent prior to bottling.  Tonight I tried it for the first time, I expected great things, but was very disappointed with the taste.

Tuesday, April 12, 2011

My Current Homebrewing Setup.

I've only been at this since January 2011, you can brew with more gear, obviously, or less, and produce great beer.  I am using three carboys, 6.5, 5, and 3 gallons.  6.5 for primary, 5 for secondary, and the 3 gallon for experiment batches.  I have a 8 gallon Polarware brewpot, and a 210,000 BTU low profile Banjo Burner.   I have no wort chiller, as I was brewing in the winter and could cool the wort outdoors.  My cold break times are between 30-35 minutes using an outdoor ice bath.  I've never had a problem with infections.  I've been kegging most everything in one 5 gallon ball lock (Pepsi) Cornelius (Corny) keg, and push it with a 5 lb C02 tank.  A second keg would be great, as I can't always wait for the one that I have to be empty when the next batch is ready.  It's too much pressure!  I figure I have about $500 into my set up today. The first pint I brewed cost me $7.68,  which has been going down with every pint I pour!

GeoBrew just days away...

The countdown is on.  I've made my list..  Tent, sleeping bag, headlamp, coffee press, brats, brew pot, hydrometer, banjo burner... The weather is supposed to be downright crappy, low 40's, rain/snow mix at times. Blah.  Regardless, we will brew.  I love brewing in the elements.  Since I took up brewing in January, I've brewed a whopping 4 batches of beer (my goal was 7 for the year); I've brewed in 5 degree weather, and in hail...  There is something about being outside for 5 hours in whatever mother nature sends your way, that is very enjoyable!  I still have the summer and fall to experience, can't wait.  BUT before that, there will be GeoBrew.  I am running to Northern Brewing Thursday for supplies. I expect an education.

-Chris

Monday, April 11, 2011

Speckled Heifer Batch #2

A few weeks ago I made a Spotted Cow clone from Northern Brewing, it tasted excellent!  It's a Partial Mash kit which gets me a step closer to all grain brewing, and it tasted nearly spot on, but I felt it was missing a citrus element.  So, I'm trying a second batch to see if I can't nail down the addition of a 'citrus element' to a beer.  The guys at Northern (always very, very helpful) recommended an additional 1/2 oz Saaz hop with 30 minutes left in the boil in addition to the 1 oz of Cluster hops in the original recipe.  We'll see how it worked in 4-5 weeks.  Also, I am planning on pulling off 1 gallon as an experiment batch, and letting it ferment in a few lemon peels...  You know, just to see what happens.

Cheers,
-Chris

Friday, April 8, 2011

Welcome to the Union Brewing Blog!

Taking it to the web... I keep playing with electronic media, trying to figure out the best way to document and track my brewing adventures.  A blog seems to make the most sense.  My goal with this blog is to document all things beer.  I've spent hours scouring the web for advice, experiences and  research on all aspects of beer brewing, from equiptment to Barley seeds.  Truth is, the amount of information on the web is staggering!  My wife and I joke frequently that 'there is no reason not to know' anymore.  Information is availalbe at lightning speed and I have gained an enormous amount of information from fellow brewers out there, without their blogs, I wouldn't have nearly the info I have today.  Simply put, the internet is awesome! 

I might not have started this blog, but I'm going to run two experiments this year that others might be interested in.